How to use Mega Studio in Unity to place 3D content
This document quickly teaches you how to use the annotation tool in the Unity editor to place models, preparing for later rendering in xr-frame.
Before you start
- Be able to use Mega Studio in Unity
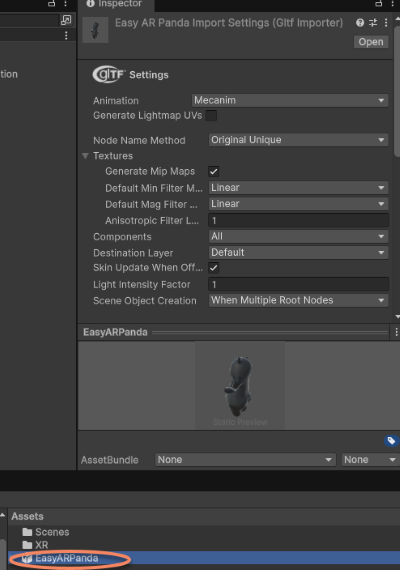
Prepare a GLTF model and drag it into Unity Assets
You can use the model used in the sample project (a charming panda), use the small robot model used in the official xr-frame Demo, or refer to GLTF formats loadable by xr-frame and supported extensions to prepare your own model and upload it to a resource hosting server.
Tip
The Mega plugin already adds a dependency on com.unity.cloud.gltfast, so you can directly drag model files into Unity Assets.
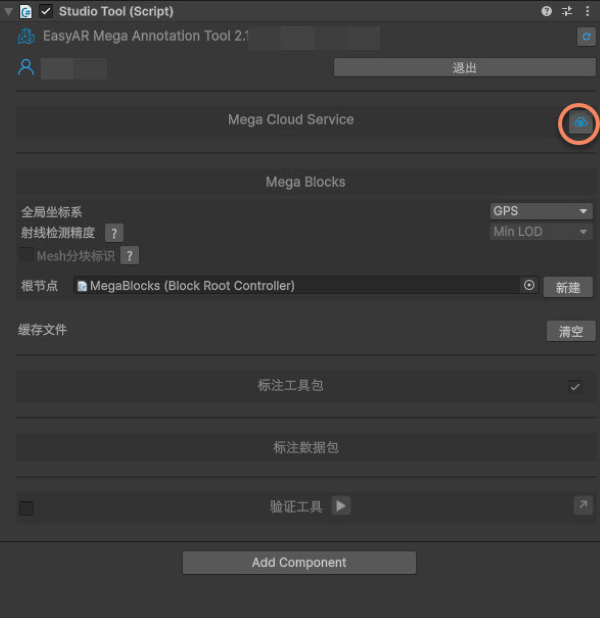
Select a Mega cloud localization library
Click the icon to the right of Mega Cloud Service.
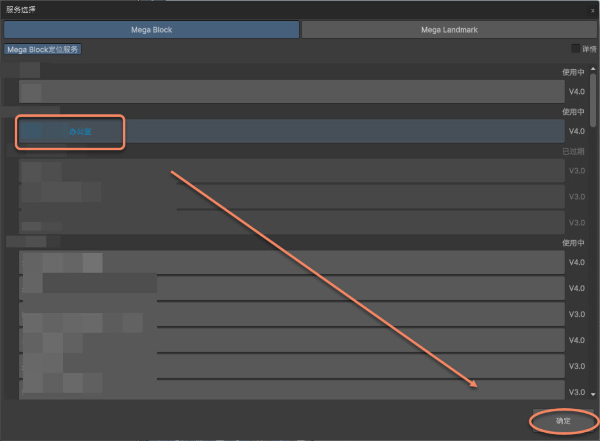
Select the library to use.
After the localization library and Mega Blocks information are loaded successfully, the Studio tool panel appears as shown.
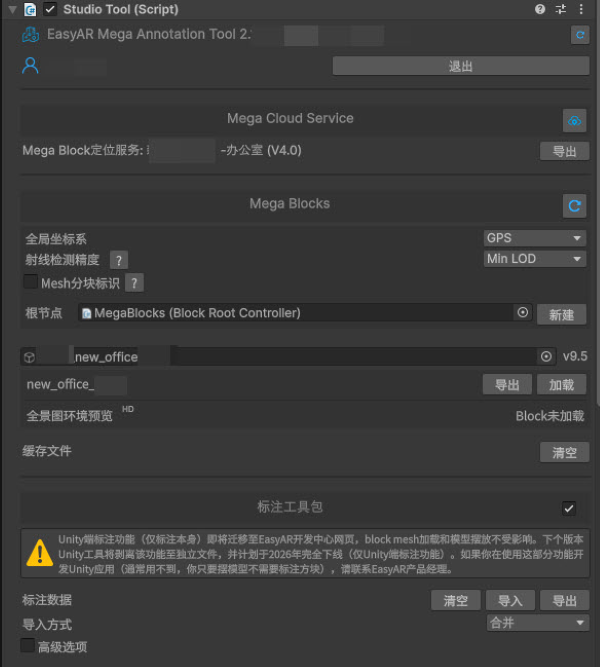
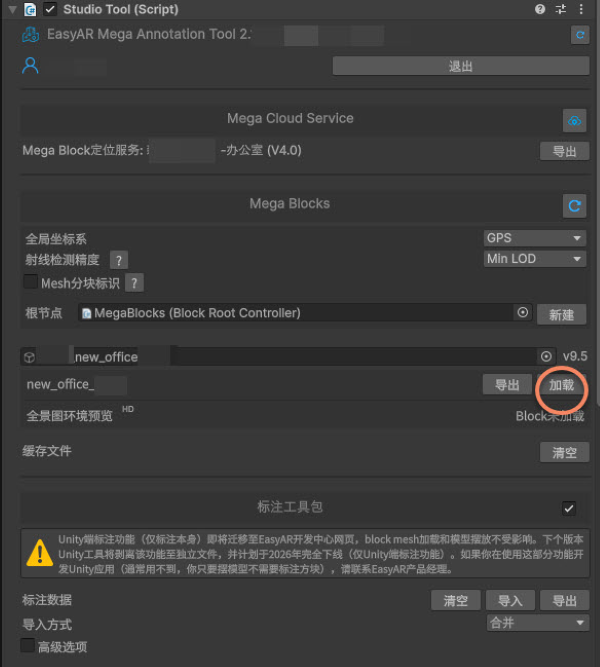
Load the Block dense model
Click Load to the right of the Block name to dynamically load the dense model of that Block.
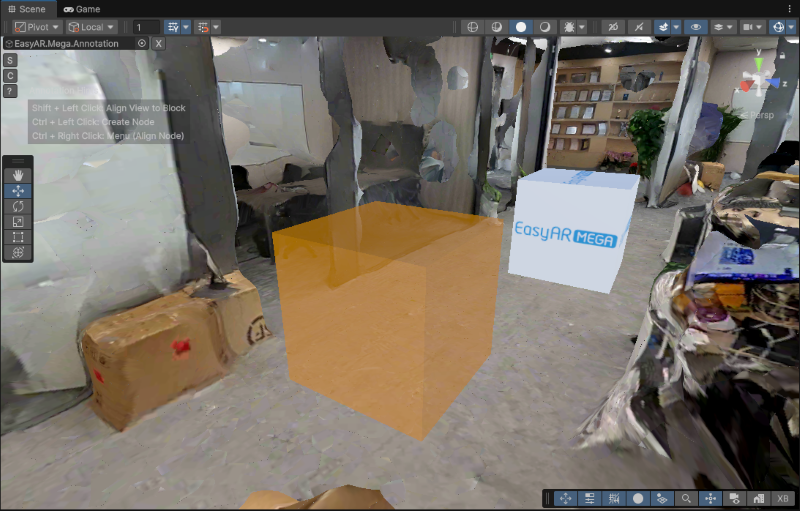
Create an annotation
In the scene, hold Ctrl (Windows) / Command (Mac), then left-click on the ground where you need the annotation.
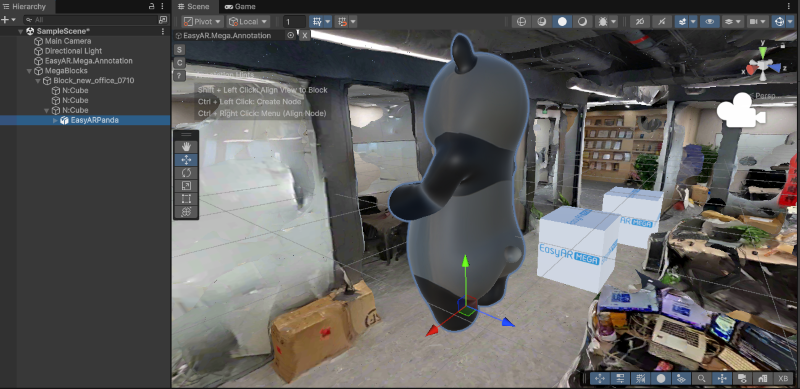
Use 3D content as a child node of the annotation
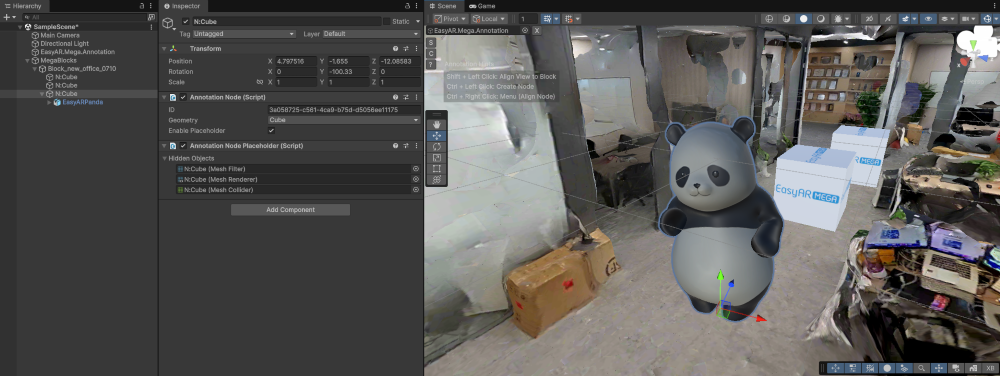
Drag the imported model to the scene node as a child node of the annotation.
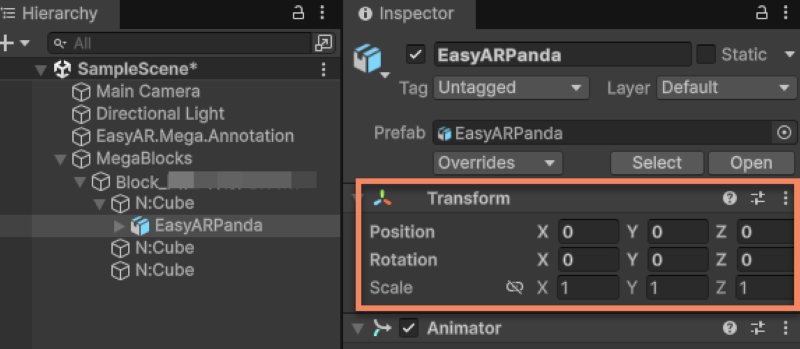
Set Position and Rotation in the model Inspector panel to 0. Scale can be adjusted as needed.
Note
EMA carries all coordinate conversion logic. Setting the model Position and Rotation to 0 makes the model's geometric center exactly coincide with the annotation point. All translation and rotation adjustments should be completed by operating its parent node (the annotation node).
[Optional] Adjust the model position
Select the annotation node in the scene and adjust the model position and rotation against the dense model.
Note
The Position and Rotation of the model relative to the annotation must always all be 0, otherwise you cannot get the correct rendering result in xr-frame.
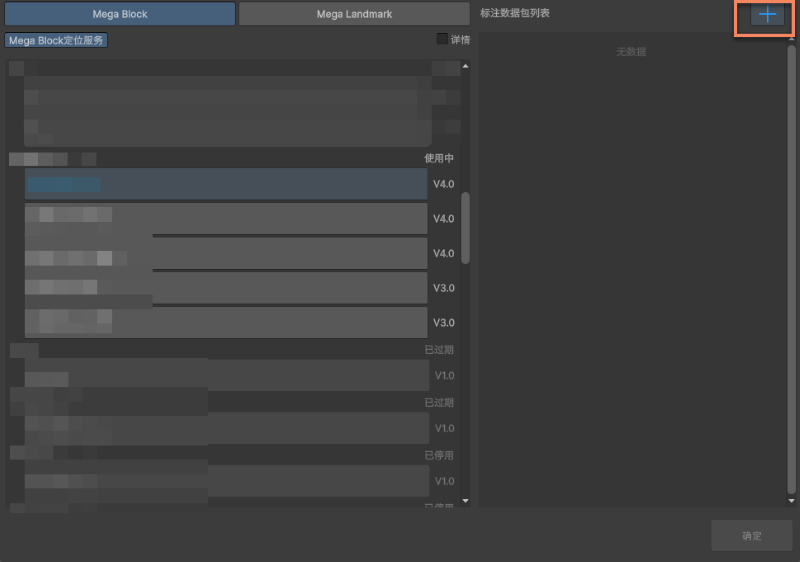
Create a new annotation data package
Click the icon to the right of the annotation data package in the Inspector panel.
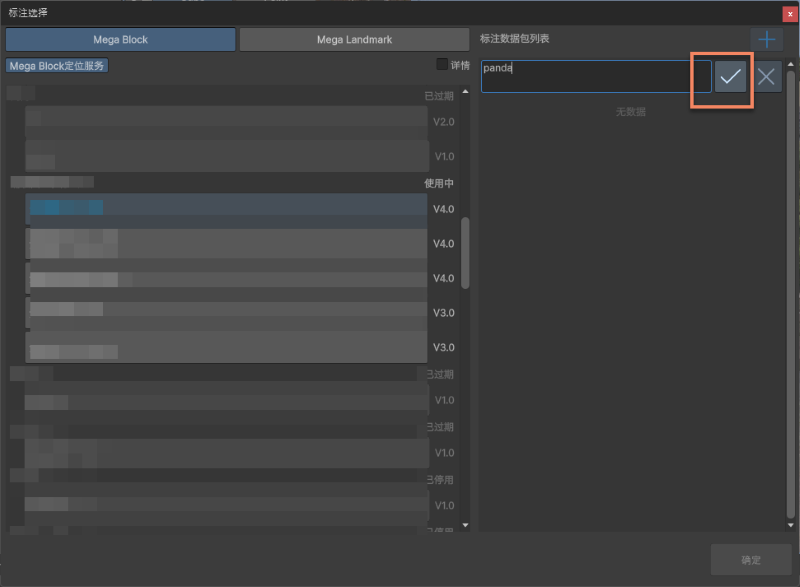
Enter the annotation data name in the box and click the check mark on the right.
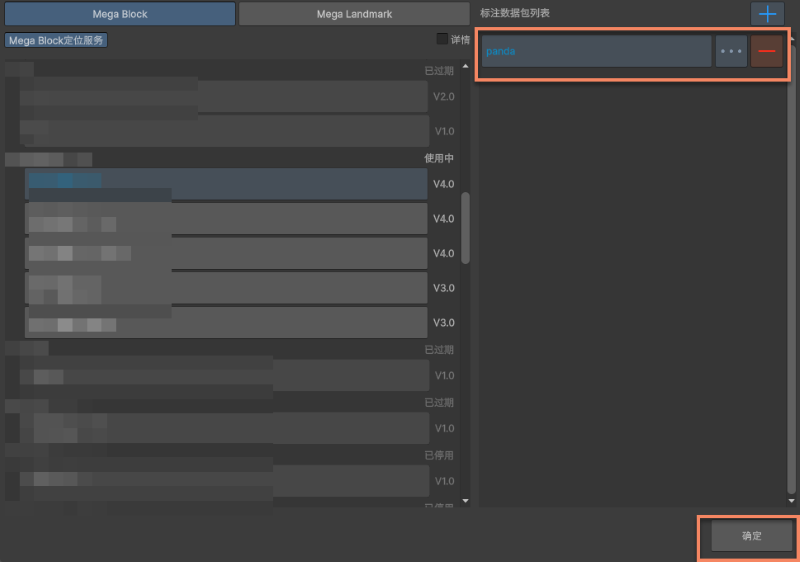
After creation succeeds, it should appear as shown. Then click OK below.
Click the upload icon to upload.
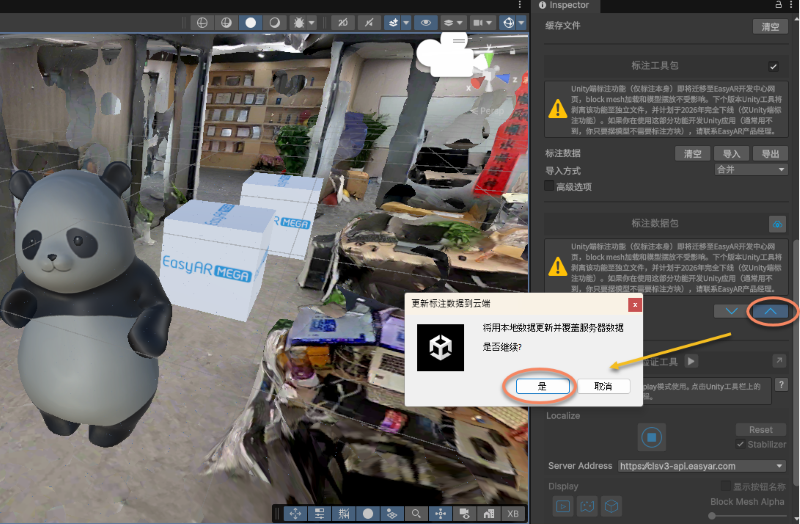
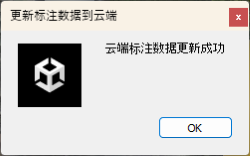
After upload succeeds, a prompt appears.
Confirm annotation data
You need to record the ID of the annotation data so that the corresponding annotation data can be loaded in xr-frame.
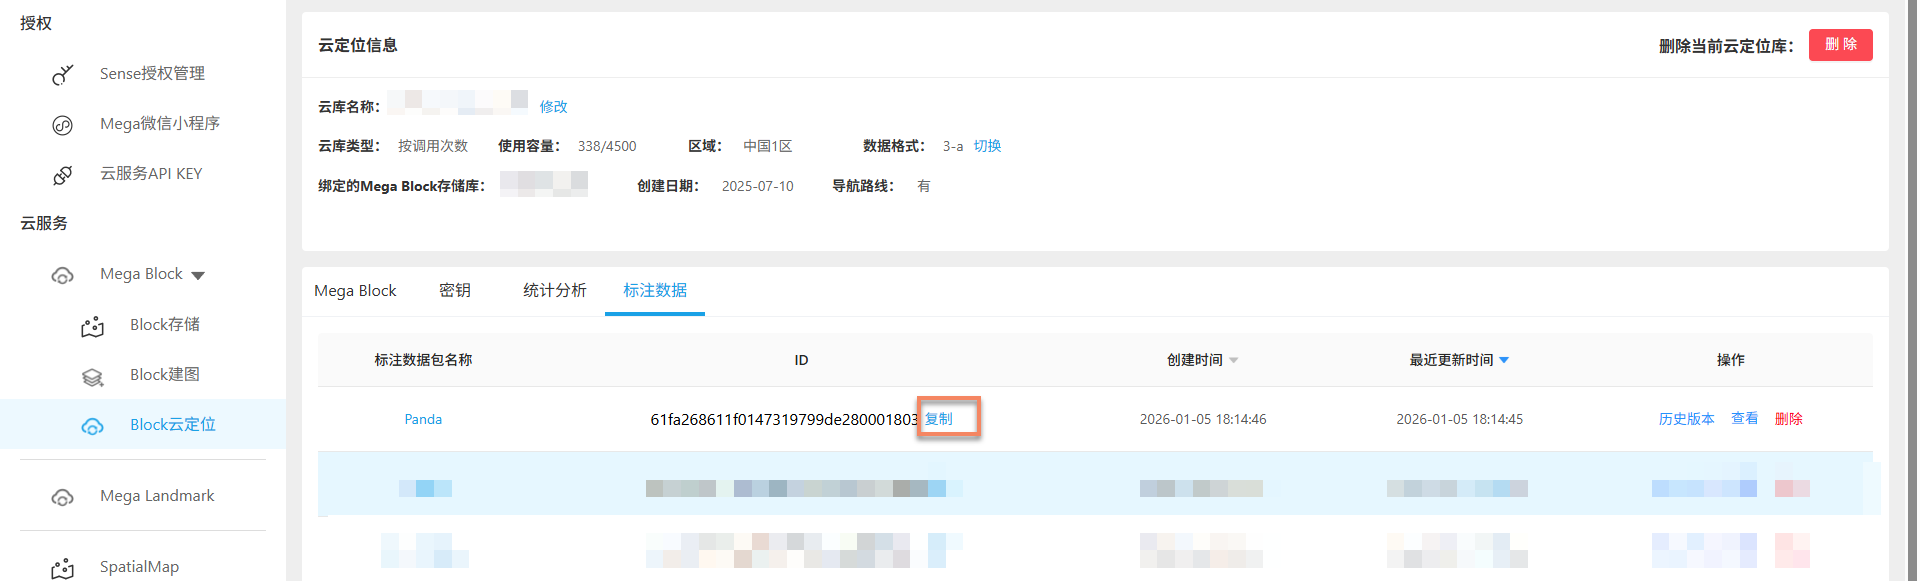
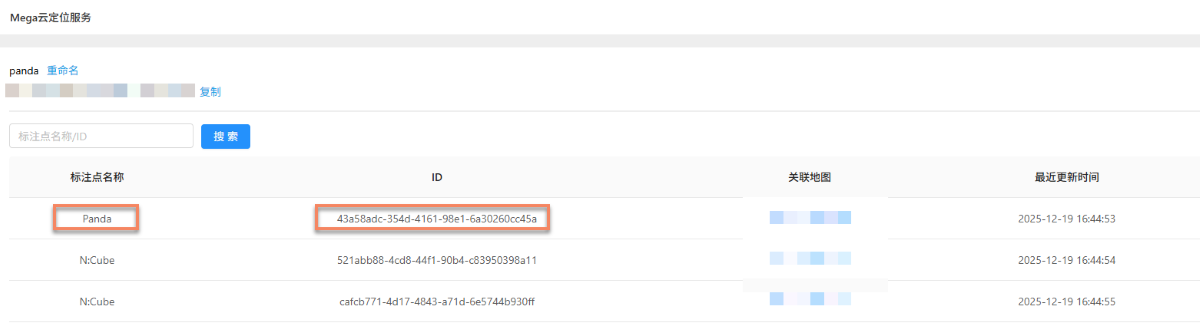
After upload succeeds, you can also see the corresponding information in the cloud localization library. The ID in the list on this page is the annotation data package ID.
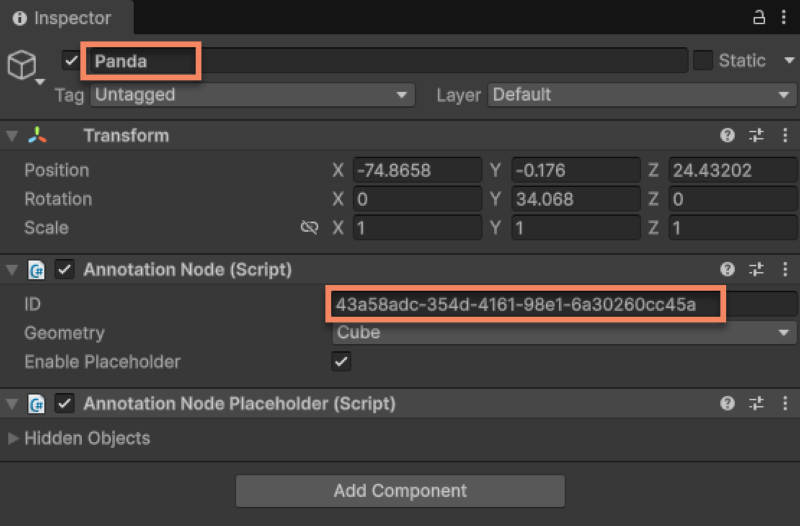
You can also view the uploaded annotation data name and ID here. The ID in the list on this page is the annotation point ID.
Next steps
- Use the uploaded annotations to run the complete sample project
- Try creating 3D content aligned with the real world using the Unity editor